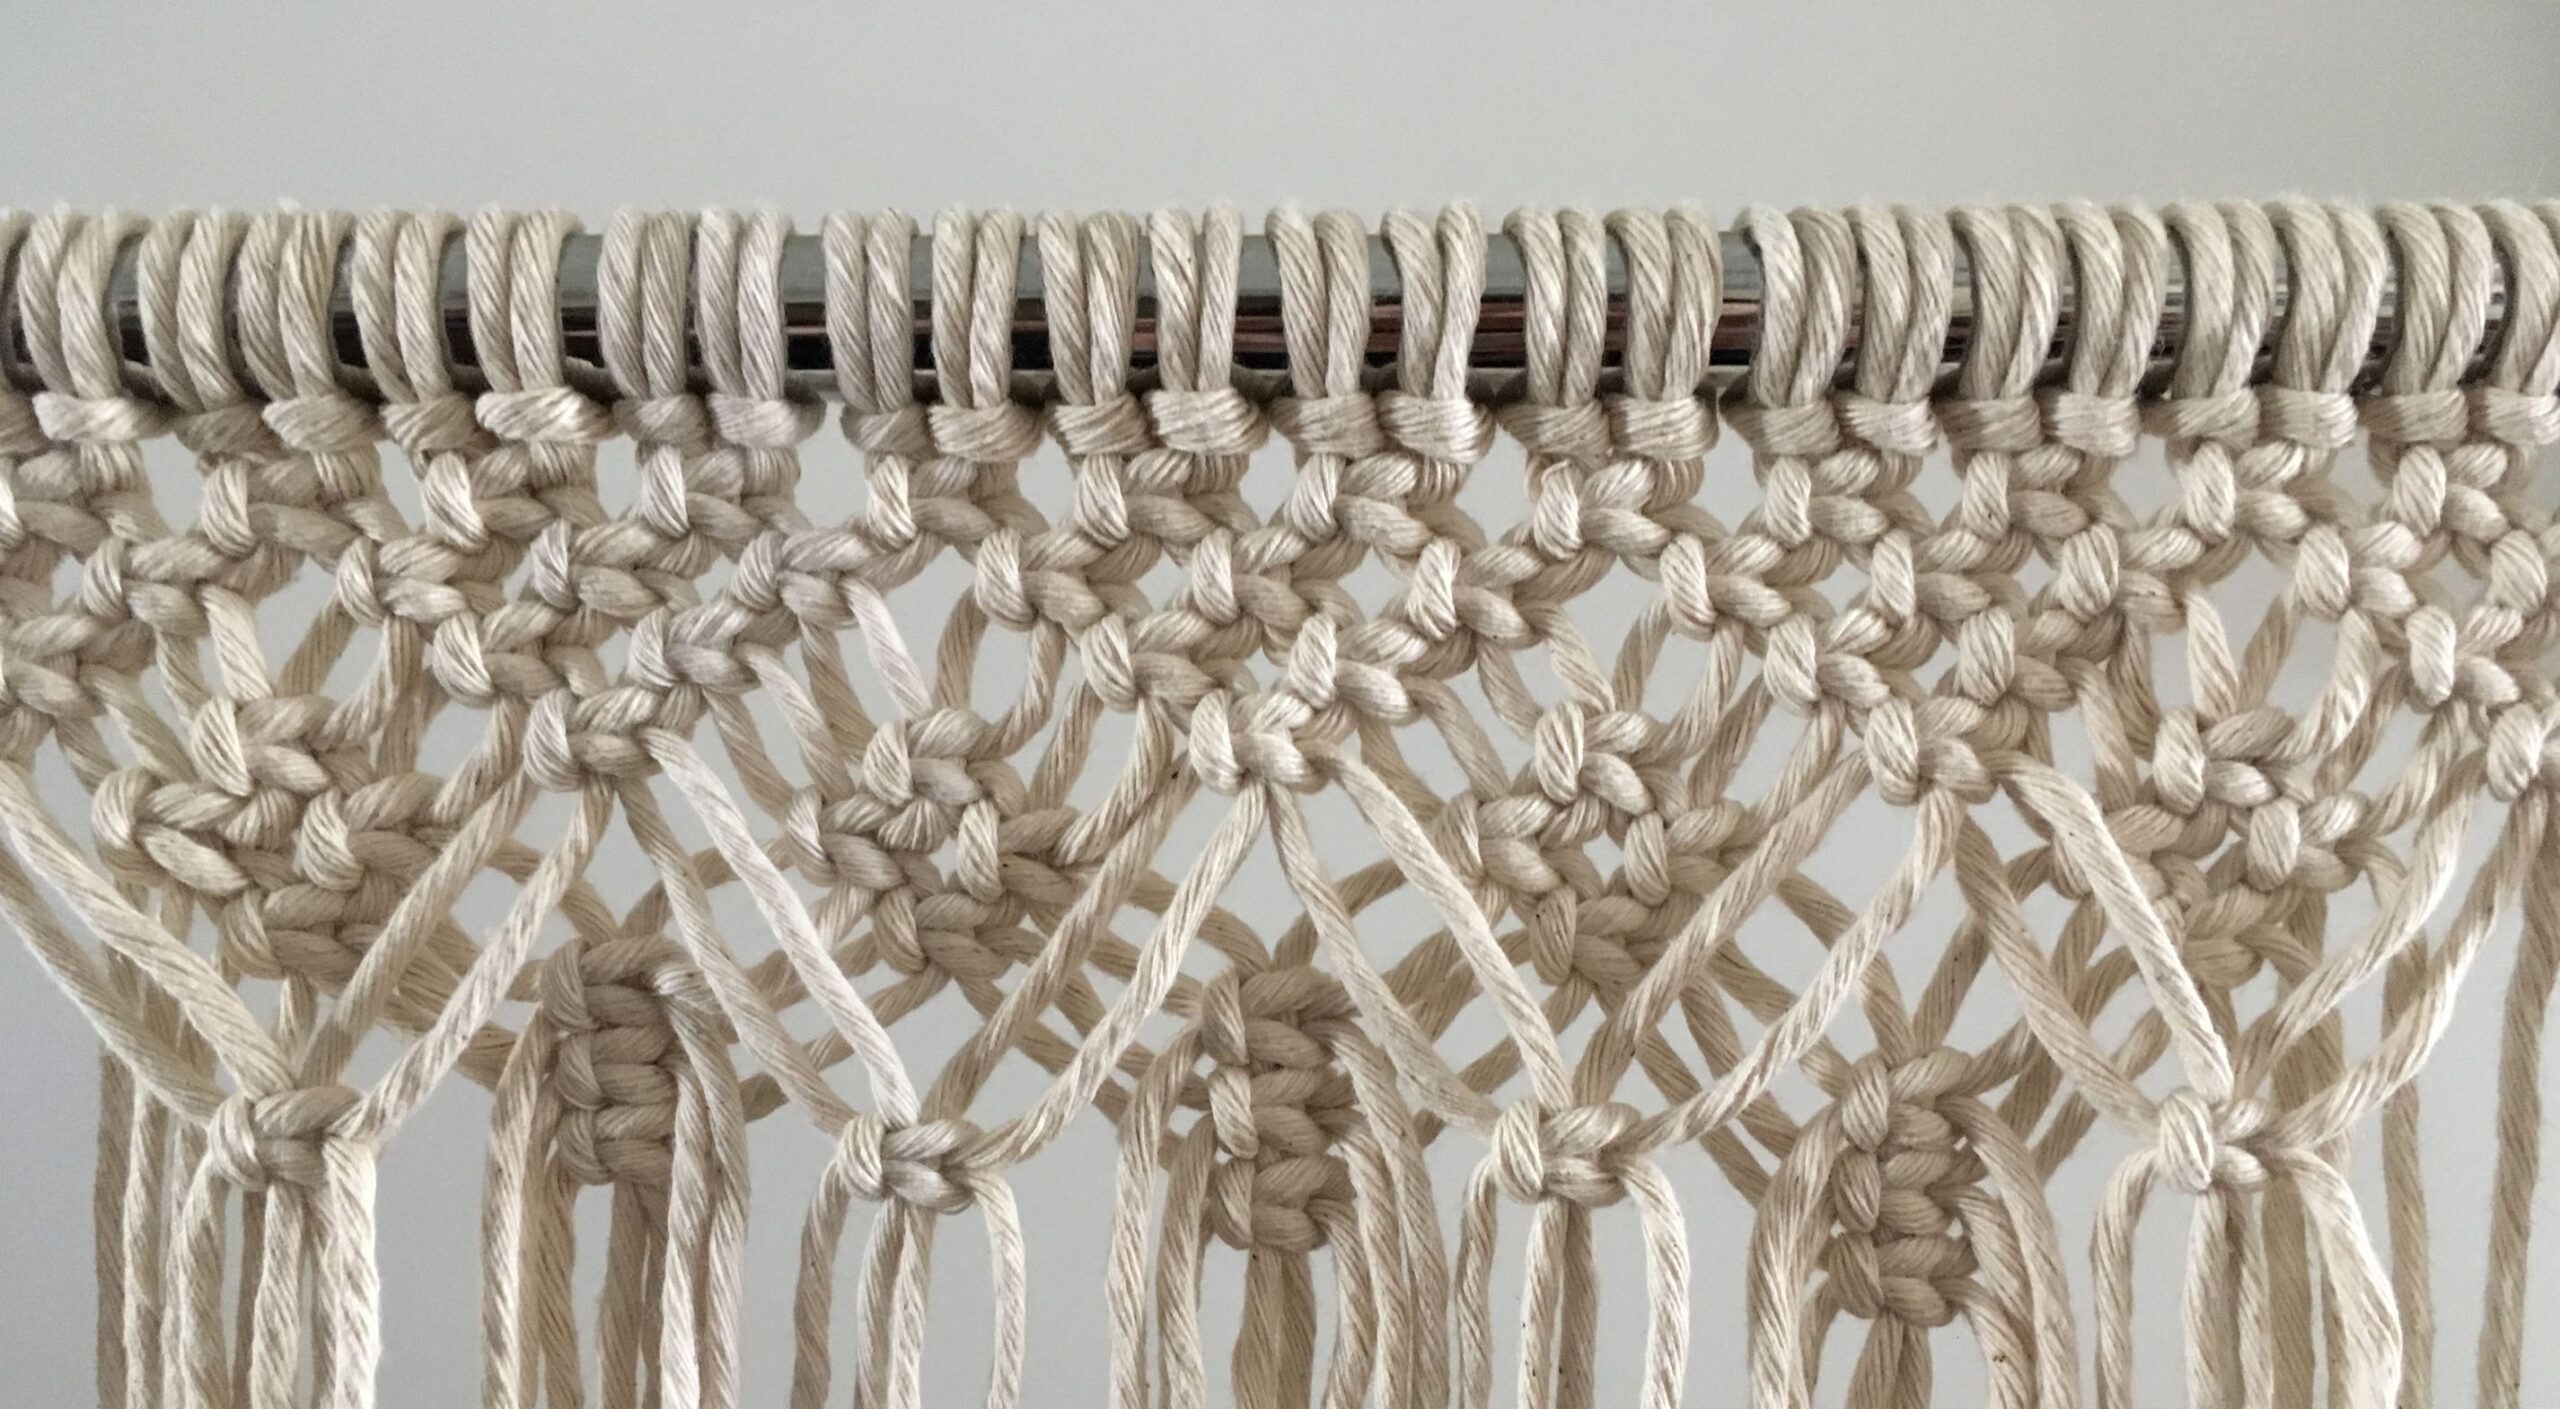
A step-by-step guide on how to create this elegant lace pattern. It works for 2D + 3D projects!
Wall Hanging / 2D: Fill your dowel with multiples of 24 cords (12 cords folded in half). Pattern needs at least 64 cords (32 cords folded in half). Add an extra 4 cords (2 cords folded in half) to finish the pattern.
Chandelier / 3D: Fill your hoop with multiples of 24 cords (12 cords folded in half). Pattern needs at least 144 cords (72 cords folded in half).
Length: For sizes 4mm and smaller, use 3 feet per cord and fold in half. For sizes 5mm+, use 5-6 feet per cord and fold in half. This should leave you at least 10 inches of fringe to work with.
Supplies:
- RMC Fiber Art Rope
- Fiber Art Scissors
- Fringe Comb
- Whole Cord Comb
- Measuring Tape
- Metal Hoops
- Wood Dowels
- Rack for Working on Projects & Hanging Finished Projects
- Start with 1 row of square knots. Click here for Square Knot tutorial.
- Start next row with 3 square knots.
- Finish triangle shape with 3 square knots.
- Repeat triangles in sets of 3 square knots until the triangles are done.
- At the top of the points, grab the center 4 cords.
- Leave a gap.
- Square knot. Repeat.
- Create a 4 knot diamond from the floating square knot.
- Repeat.
- Take 2 outer remaining cords from the triangles.
- Leave a large gap.
- Square knot. Repeat.
- Take 2 cords from the outside of 2 diamonds.
- Square knot.
- Take 2 more cords while keeping the same “anchor” cords.
- Square knot.
- Repeat.
PRO TIP: Try to keep your cords straight when leaving gaps. This may take quite a bit of adjusting.
Not sure where to start?
Click here to view our recommendations chart.
We love to seeing your finished projects!
Tag us on Instagram, Facebook, and Pinterest! @rockmountainco